Showing posts with label Canning. Show all posts

Tuesday, June 7, 2011

It's a jungle out there!

Not too long ago I posted a few images of our summer garden. My! My! How it has grown!

This is our second year with a raised bed garden and to be honest, I do not know if I ever want to go back to an in ground garden again!

It is absolutely amazing exactly how much one can plant in such a small space. A friend of ours owns a fencing business and the parts come in 4'x4' wooden forms. Last year she saved us four forms.  We stacked one on top of the other to create two 4'x4'x16" beds. Then, we nailed boards between the two beds to create a third bed. We lined the bottom with landscape cloth to prevent weeds and filled them with mulch, dirt, compost, and old straw from our rabbit hutch. We watered the beds daily and let them rest for about 2 weeks prior to planting.

Green heirloom tomatoes on the vine
Green roma tomatoes on the vine
The perfect canning tomato!
Squash blossoms taking refuge from the sun
under the canopy of  leaves
Little squash forming at the buds of the blooms
When I was a little girl, we always planted a vegetable garden in our yard. My dad tended it all summer and then he and my mom canned whatever surplus we had. When I was old enough, I helped them too. To this day, I can remember the aroma of freshly boiled tomatoes ready for canning!

Now that I am grown, I have continued the gardening tradition. There is something extremely satisfying about growing your own food. While I do not think I can ever grow animals for this purpose, I do take great pleasure in the idea of self subsistence.

Fresh eggs ready for washing
Not only does the food you grow yourself taste better than food purchased in a grocery, you do not have to worry about where it came from or what chemicals have been used in its production. Gardening makes you appreciate the hard work it takes to provide food for yourself and your family. And, in the long run you will find you waste less and save more!

Happy gardening everybody!

Friday, May 27, 2011

Strawberry Jam

It is the end of May and I must admit I almost missed strawberry season here in Southeast Tennessee! Whew! Time simply got away from me!
Fresh Tennessee Strawberries!
However, I was able to pick up one of the last flats of our local strawberries. Aren't they just gorgeous!
I love buying local!

Despite the horrific weather we have had this spring, it has been a wonderful growing season. This year's  strawberries are plump, brilliant in color, and extremely sweet! No need for any sugar on these little gems!
Little hands kept sneaking strawberries while Mommy wasn't looking!
I purchased these strawberries for jam, but after tasting how delicious they were, I could hardly bear to devote all of them to preserving. So, I used half of the flat for jam and stashed the other half in the fridge for eating! Strawberries will last 5-10 days in the fridge at 32/F.

My favorite way to preserve fruit is by freezing. This is the most efficient way to lock in all the vitamins and nutrients found only in fresh fruit. However freezing requires a lot of space. And if you are like me, excess freezer space is something you do not have. So, the next best option is canning.

For strawberry jam, you will need the following:
  • 5½ cups crushed strawberries (about 3 quart boxes strawberries)
  • 1 package powdered pectin
  • 8 cups sugar
  • 9- 10 half-pint sterilized jars with lids
  • Water bath canning equipment
  • Time needed: about 1.5 hours (including processing time)
Here are the steps:
Prepare the fruit. Sort and wash fully ripe strawberries; remove stems and caps.
Crush your berries. (I use a food processor but you can also cut the berries into small pieces or crush by hand- depending on what consistency you wish your jam to have.)


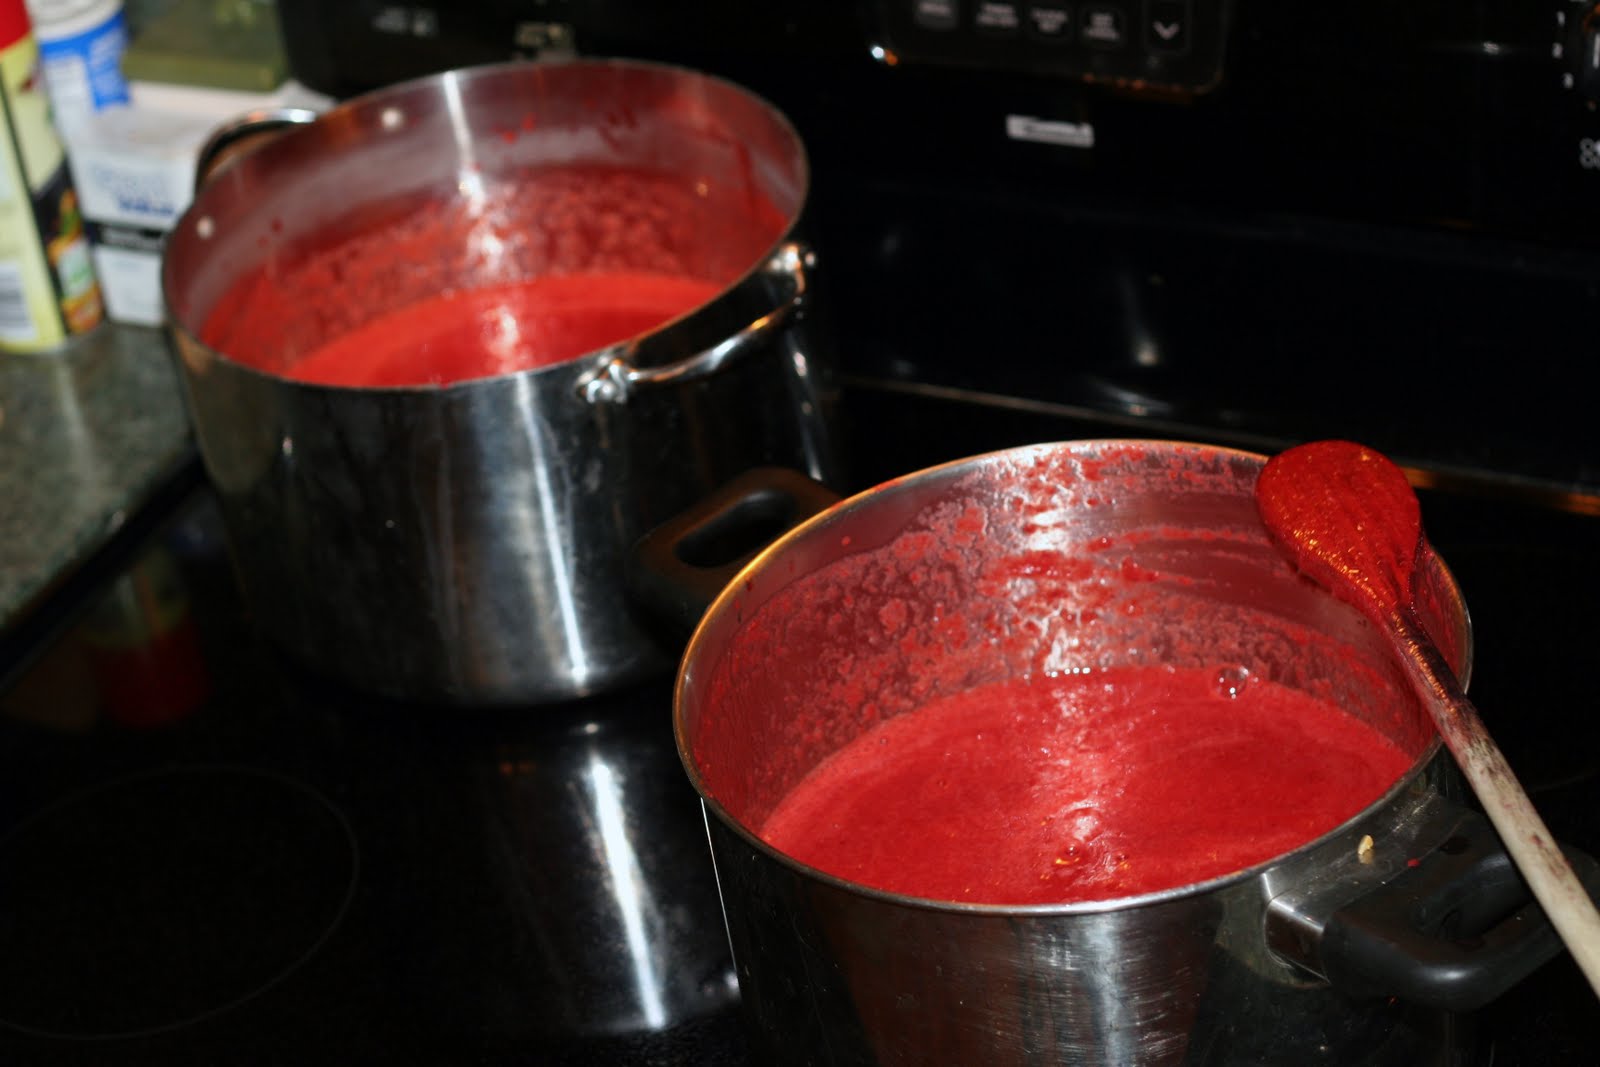
To make jam. Measure crushed strawberries into a kettle. Add pectin and stir well. Place on high heat and, stirring constantly, bring quickly to a full boil with bubbles over the entire surface. Add sugar, continue stirring, and heat again to a full bubbling boil. Boil hard for 1 minute, stirring constantly. Remove from heat; skim.
Jam before boiling point
Fill hot jam immediately into hot, sterile jars, leaving ¼ inch headspace. Wipe rims of jars with a dampened clean paper towel; adjust two-piece metal canning lids.
Process in a Boiling Water Canner for 5-8 minutes.
Hot packed jars ready for lids
And when you are done, you have some gorgeous jam to save and to share.
Strawberry tops make yummy bunny treats!
Here are some very important notes about making jam with pectin:

1. Be sure you use a large kettle for boiling your jam. Anything made with added pectin will expand! You will need about 2-3x kettle space to be safe. I made this mistake once. I used a pot that was too small and I accidentally started a kitchen fire on my range when the pectin began to expand and boiled over the rims of the pot. The sugar in the jam caught fire on the eye of the stove and immediately began to flame! Fortunately, I had a fire extinguisher in my kitchen and was able to put it out quickly.


2. NEVER leave jams unattended on the stove top. As soon as the jam hits the right temperature, the pectin will start to expand rapidly! Continual stirring will cause the pectin expand less rapidly.

3. Pay attention to the type of pectin you use. Liquid pectin is typically added last whereas powdered pectin needs to be added in the beginning.


If you have any questions about the recipes on my blog, or just want to learn more about home canning, check out my favorite source for all things food preservation!

Thursday, February 3, 2011

Homemade Applesauce

It's fall in the South and that can only mean one thing! It's apple time!
Only one hour away from the South's greatest apple orchards, each year we take a day and go up to the mountains to get apples. This year we came home with a bushel of yellow delicious and a half peck of granny smith's. I intend to use the granny smiths for various recipes. They keep a long time and will last the winter through. However, the yellow delicious are a bit more perishable and thus need to either be eaten, canned, or dried.

And that is what we did. We ate lots- gave away lots, dried a few, and made applesauce with the rest.

Here is the process of making homemade applesauce.

Step 1. Wash and peel your apples. I do not have one of those fancy apple peelers (although it is now on my Christmas wish list) and did by hand.

Step 1: Wash and peel your apples
Step 2: Core your apples, cut them up into pieces, and put them in a deep stock pot. I add a little ascorbic acid to prevent browning and as a preservative. Add about 1/2 to 1 cup of apple cider or water (more or less may be needed depending upon your batch size).
Step 2: Cut up your apples into small pieces

Step 3: Cook on medium-low heat for approximately 1 hour. (Again, more or less time may be needed depending upon your batch size.) Stir occasionally to prevent burning.

Step 3: Cook until soft. You can see the pot contents have been reduced to almost half.
Step 4: Can in sterilized jars in a water bath or pressure canner. Here is a link to the site I reference most often when canning anything.

It's just that simple. If you want a smoother applesauce, use a food processor after coring and cutting up the apples. There is no need to add sugar to this recipe. If you use the right kind of apples, your applesauce will be naturally sweet.

I used approximately 16-20 apples in this batch and ended up with 1 quart and 3 pints of applesauce. My 20 month old eats it like it's going out of style! She loves it! And- no artificial preservatives (ascorbic acid is a naturally occurring substance) and I know EXACTLY where it came from!
Canned pint of applesauce

Sweet Cherry Jam

Enjoying a little quiet time in the studio means lots of busy time in the kitchen! Summer is such a wonderful time of year! Here is a little "sampling" of sweet cherry jam I put up yesterday.

Hand pitted bing cherries
all ready to be made into sweet jam


I love when there's some left over to fill a sampling jar.
It didn't last long!


Sweet cherry jam on toast with cream cheese